> For the complete documentation index, see [llms.txt](https://docs.rapidbott.com/help-center/llms.txt). Markdown versions of documentation pages are available by appending `.md` to page URLs; this page is available as [Markdown](https://docs.rapidbott.com/help-center/flow-builder/steps/add-and-remove-tag.md).
# Add & Remove Tag
Tags would help you to identify and segregate your chat information for an informed decision.
Let’s Assume you have a flow of asking users whether they are interested in a trip to Europe or Asia. Then we will tag the users accordingly.
We will cover the following action in the Tags options.
* How to Create a Tag.
* Use Tags in flow.
* Watch Tags on Live Chat
### How to Create a Tag
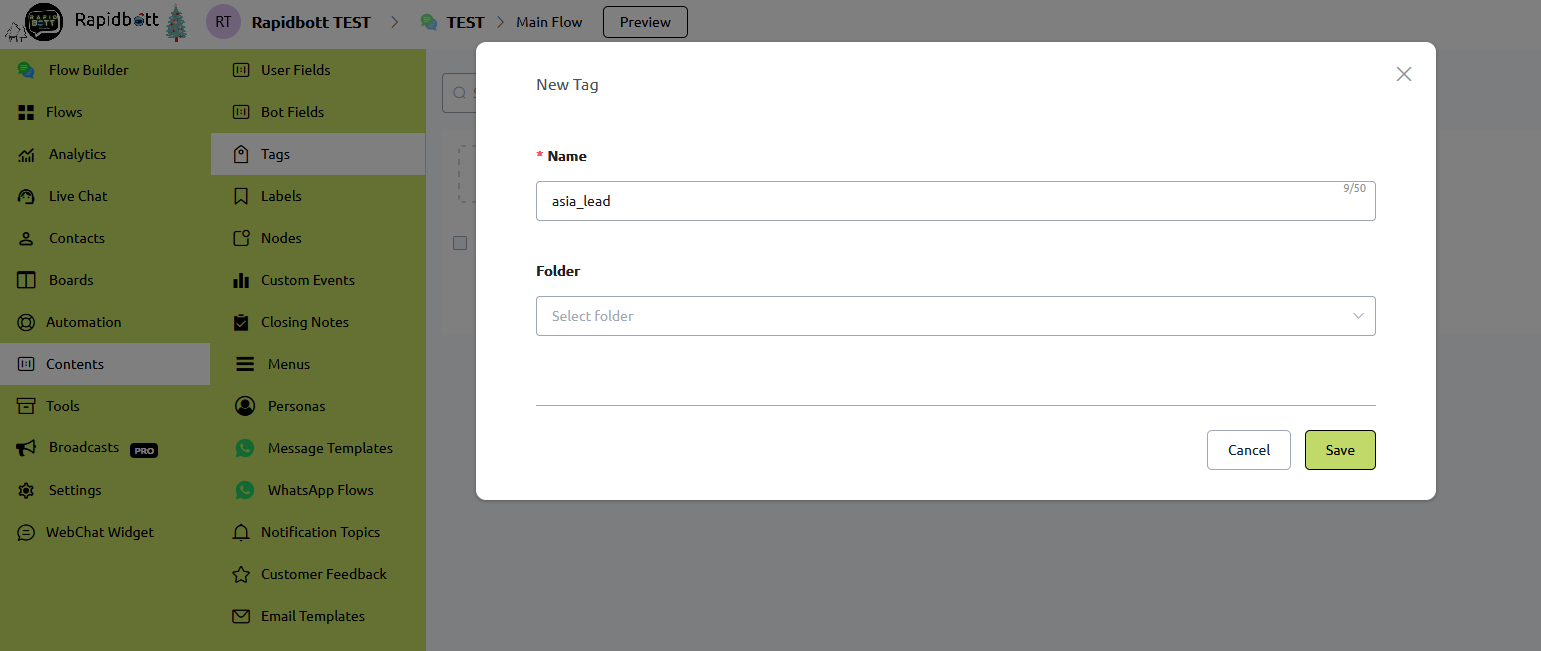
Click on Contents and here select the Tags option, In order to create or delete any tag we will use this window. Now choose the new Tag button.
Now create an asia\_lead tag for those users who select Asia for the tour option. The same goes for the Europe lead as well.
These Tags can be deleted from the rightmost option of the Grid.
### Use Tags in flow
Go to the Flow choose Basic Action and select Add Tag option.
Here select the appropriate tag for all the users who select Europe as a holiday destination and the same goes for Asia destinations.
### Watch Tags on Live Chat
Now Run this flow and check its impact on the Live Chat section. Here Chat agent can see the user Tags, as well as manually add or delete the tags according to the situation.
### Remove Tag
Remove Tags can be utilized via the Basic Action option. Let’s assume a scenario where the user is not interested in contacting a chat representative.
What we did we add a primary action and by selecting a Button we will trigger this action which will remove the tags that we previously selected in our chat.
### Add Multiple Tags
This option allows the chat builder to add multiple tags in one go, So Whenever a user adds a destination of Europe/Asia we will add more than one tag. Just go to the basic option and select the “Add Multiple Tags” option.
Here you can select the already created Tags from the Contents section.
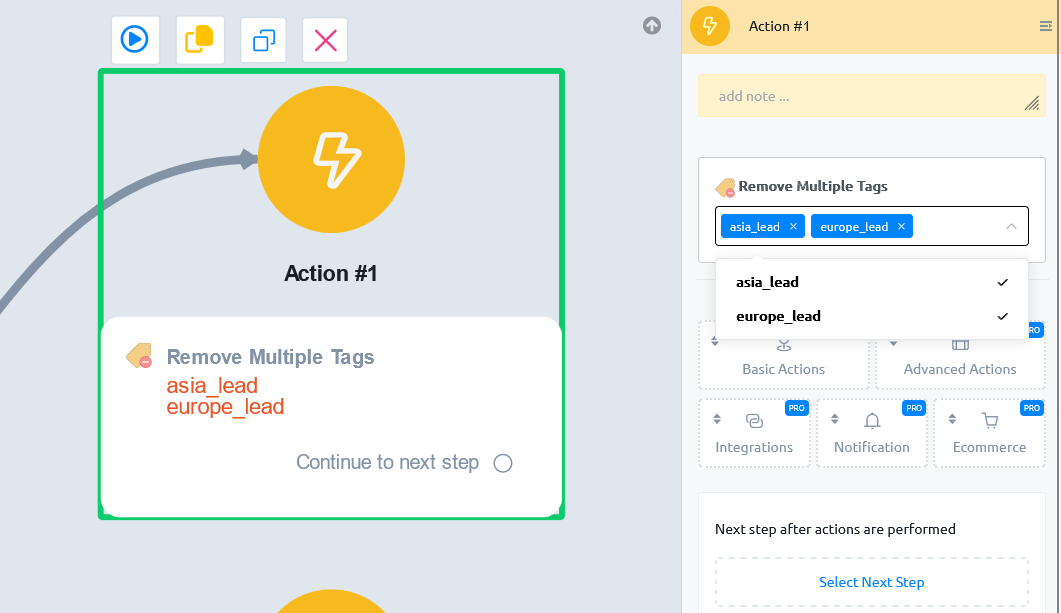
### Remove Multiple Tags
This option allows the chat builder to remove multiple tags in one go, So Whenever the user adds a destination of Europe/Asia, but at the end of the chat if he presses the button not interested in the chat. We will remove the tags from the Remove Multiple Tags option.